Skip to content
 Door closers are one of the most important yet often overlooked pieces of door hardware. Found in commercial buildings, offices, hospitals, schools, and even residential properties, they help doors close automatically and safely after being opened. A properly adjusted door closer ensures security, energy efficiency, and user safety.
But what happens when your door slams too hard, refuses to latch, or feels difficult to open? The good news is that most of these problems can be solved with a simple adjustment. Knowing how to adjust a door closer not only extends its lifespan but also prevents unnecessary wear on doors and frames.
In this guide, we’ll walk you through everything you need to know about door closer adjustments: the different types of closers, the tools you’ll need, step-by-step adjustment instructions, common mistakes to avoid, and maintenance tips. Whether you’re a building manager, installer, this article will give you the knowledge to keep your doors working smoothly.

What Is a Door Closer and Why Does It Need Adjustment?
A door closer is a mechanical device that automatically closes a door after it has been opened. Most modern closers use hydraulic mechanisms filled with fluid that controls the speed and force of the closing action.
Over time, however, several issues can arise:
• The door starts slamming shut.
• The door doesn’t close fully, leaving a gap.
• The closing speed changes due to temperature fluctuations.
• Internal pressure shifts, affecting the balance of the mechanism.
That’s why regular adjustment is essential. Correctly adjusted closers maintain building safety (fire-rated doors must latch securely), improve accessibility (doors aren’t too heavy), and protect the door from damage.
Types of Door Closers
Not all door closers are the same. Before attempting an adjustment, it’s helpful to know which type you’re dealing with.
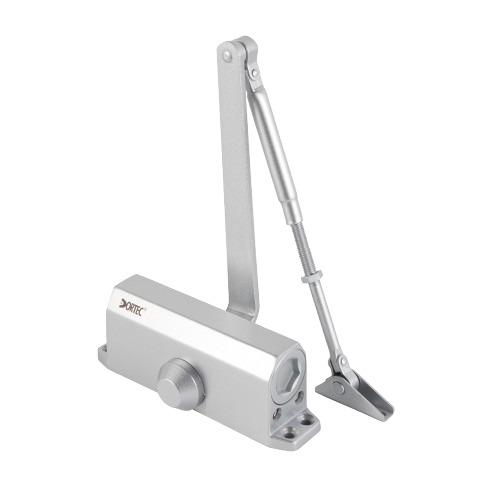
1.Surface-Mounted Door Closer
• The most common type, visible on the door or frame.
• Easy to adjust and maintain.
• Widely used in commercial and residential applications.
2.Concealed Door Closer
• Hidden within the frame or door leaf.
• Provide a clean aesthetic.
• Adjustments can be trickier due to limited access.
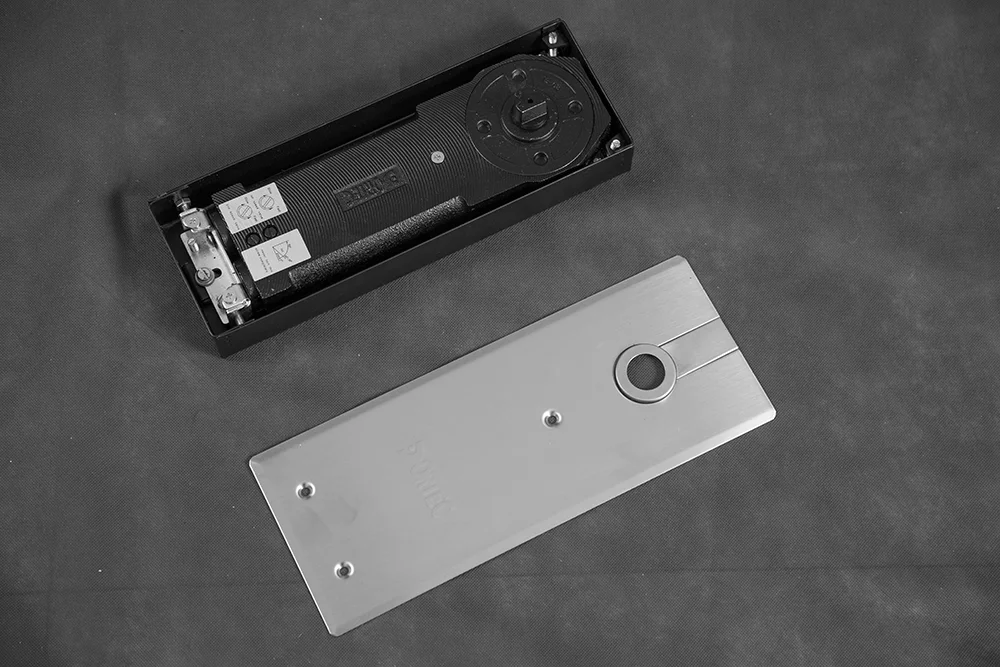
3.Floor-Spring Door Closers
• Installed in the floor beneath the door.
• Common in glass doors or heavy entrance doors.
• Adjustment usually requires lifting a cover plate
4.Hydraulic vs Pneumatic Closers
• Hydraulic closers (most common) use fluid to control speed and force.
• Pneumatic closers (often on screen doors) use air pressure and are simpler, but less precise.
Each type has adjustment screws, though their location may differ.
When Do You Need to Adjust a Door Closer?
Adjustment is not always about fixing a broken closer—sometimes it’s just fine-tuning. Here are common scenarios:
• The door slams shut. Usually caused by the closing or latching speed being too fast.
• The door won’t latch properly. The latch speed may be too slow, or the closer may lack enough force.
• The door closes too slowly. This can be inconvenient and reduce energy efficiency.
• The door is difficult to open. Backcheck or spring tension may be set too high.
• The door closer leaks oil. This isn’t an adjustment issue—oil leakage usually means the closer needs replacement.
When door closer with these kind of problem, don’t think it has broken, maybe you need to adjust the door closer, and another problem coming, how to adjust ?
Tools You’ll Need
Adjusting a door closer doesn’t require specialized tools. Typically, you only need:
• Screwdriver (flathead or Phillips, depending on the closer).
• Allen wrench (hex key) – most closers use hex adjustment screws.
• Step ladder – for overhead or high-mounted closers.
• Protective gloves and safety glasses (recommended)
Step-by-Step Guide to Adjusting a Door Closer
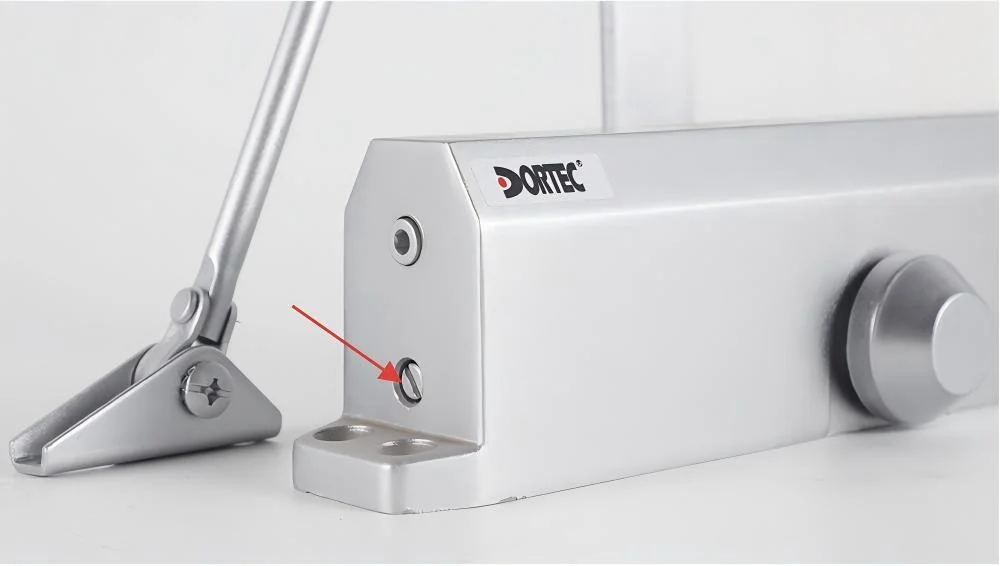
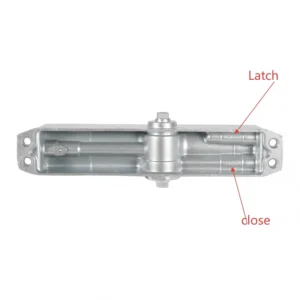
Most closers have three main adjustment screws:
1. Closing Speed (Sweep Speed): Controls how fast the door moves from fully open to about 10–15° from the frame.
2. Latching Speed: Controls how fast the door moves from 15° to fully closed, ensuring it latches.
3. Backcheck: Controls resistance when opening the door, preventing it from swinging too forcefully.
Pay attention, back check optional function, not all door closers with backhcheck function, normally adjust closing speed and latching speed is most used .
Here’s how to adjust each
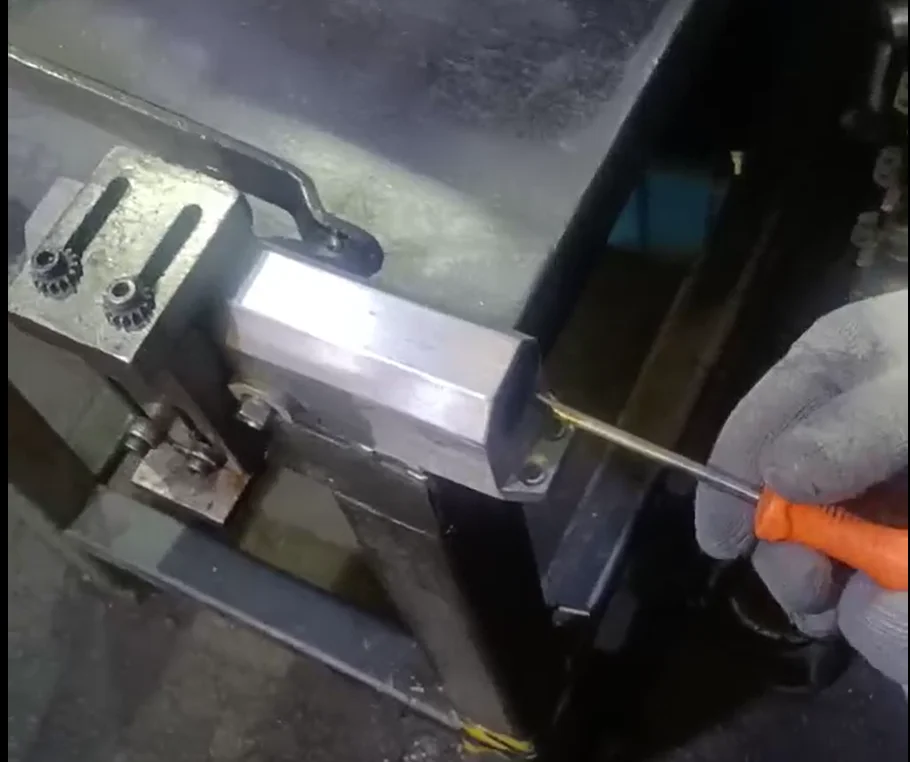
Step 1: Locate the Adjustment Screws
Remove the cover plate if necessary. Most closers have markings near the screws (S for sweep, L for latch, BC for backcheck).
Step 2: Adjust the Closing Speed
• Turn the closing speed screw clockwise to slow the door.
• Turn it counterclockwise to speed it up.
• Test the door after each small adjustment (¼ turn at a time).
Step 3: Adjust the Latching Speed
• If the door doesn’t latch properly, increase the speed slightly.
• If it slams at the last moment, slow it down.
Step 4: Adjust the Backcheck
• Increase resistance if the door opens too forcefully (protects walls and people).
• Reduce resistance if the door feels too hard to open.
Step 5: Test and Fine-Tune
Open and close the door several times. Adjust until the door closes smoothly, latches securely, and feels comfortable to use.
⚠️ Important Safety Note: Never unscrew an adjustment valve completely. Doing so can release hydraulic fluid and damage the closer permanently.
Detailed Explanation of Adjustments
Closing Speed
This setting manages the main swing of the door. If it’s too fast, the door may slam and cause noise or injury. If too slow, it wastes energy and frustrates users.
Latching Speed
This ensures the door actually clicks shut into the latch. Fire-rated doors especially require proper latching to meet safety codes.
Backcheck
Prevents the door from being thrown open forcefully, which can damage hinges, walls, or glass panels. Especially important in high-traffic areas.
Common Mistakes to Avoid
• Adjusting the wrong screw. Always check the markings.
• Over-adjusting. Small, gradual changes are best.
• Ignoring alignment issues. If the door is misaligned or hinges are loose, adjustment won’t solve the problem.
• Trying to fix an oil-leaking closer. Leaks mean the closer is worn out and must be replaced.
Troubleshooting Guide
• Door slams shut: Reduce closing or latching speed.
• Door doesn’t close fully: Increase latching speed or spring tension.
• Door is too hard to open: Reduce backcheck resistance.
• Closer makes noise: Check for loose mounting screws or worn-out seals.
Maintenance Tips for Door Closers
• Inspect every 6 months in commercial buildings.
• Tighten mounting screws to prevent wobbling.
• Keep closer free of dust and debris.
• Watch for signs of oil leakage.
• Replace closer if adjustments no longer solve issues.
FAQs About Adjusting Door Closers
Q1: How to stop my door closer from slamming?
By reducing the closing and latching speed screws until the door closes smoothly.
Q2: Which screw controls the speed of a door closer?
Usually, one controls sweep (main closing speed) and another controls latch speed. Look for markings near the screws.
Q3: Can all door closers be adjusted?
Most hydraulic closers can be adjusted, but pneumatic screen-door types offer limited control.
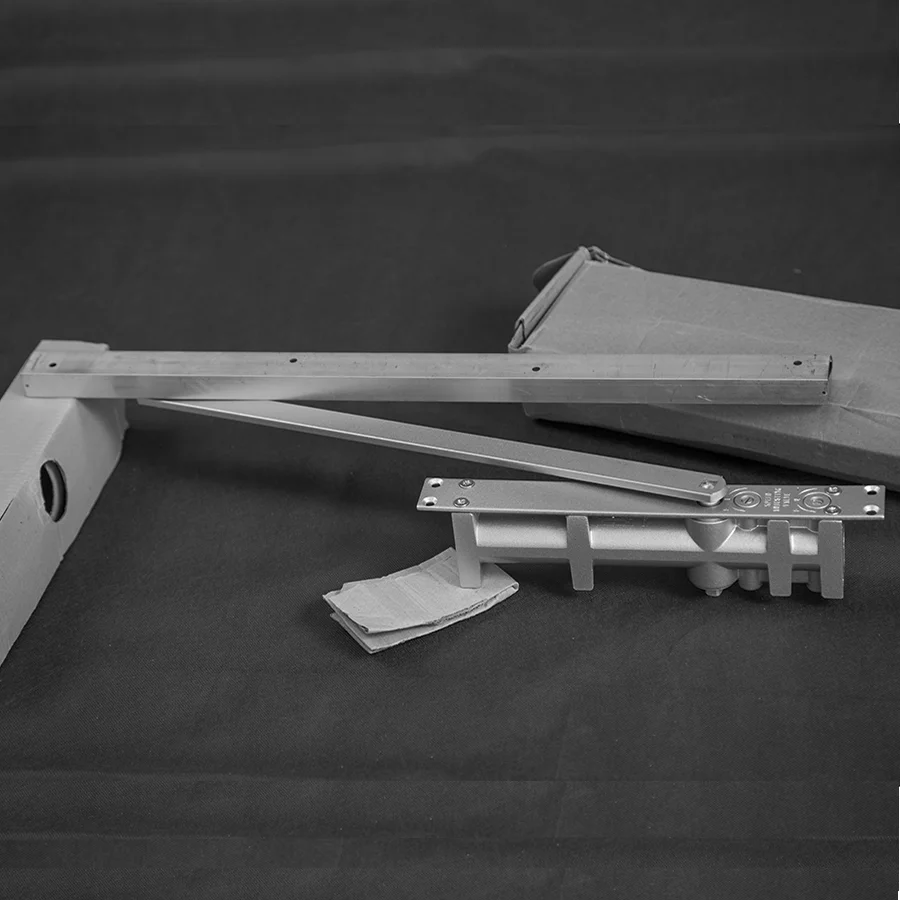
Q4: How to adjust door closer arm?
1.Identify the Arm Type
Door closers usually have either:
• Standard Arm (regular arm): Projects outward at 90° from the door.
• Parallel Arm: Runs almost parallel to the door when closed.
• Top Jamb Arm: Mounted on the frame with the closer body on the face of the door.
Each adjusts slightly differently, but the principle is the same.
2.Check the Initial Arm Position
• When the door is closed, the arm should sit at a right angle (90°) to the door frame in most installations.
• If the arm is off-angle, the door may not close properly or may feel too stiff.
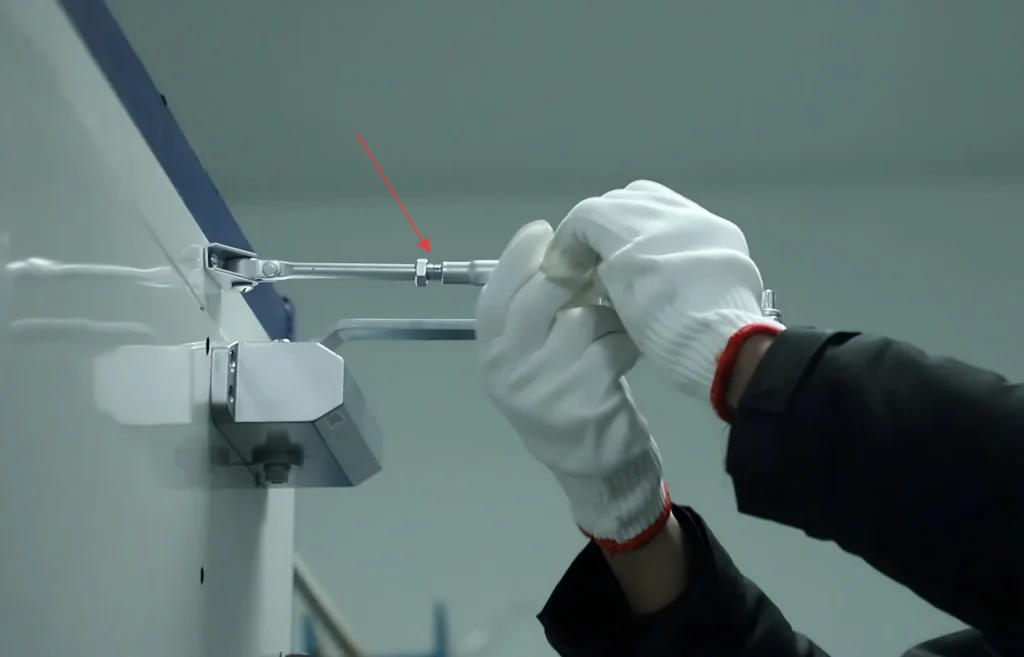
3.Adjust the Arm Length
• Many closer arms have an adjustable threaded rod with a locknut.
• To increase closing force: Shorten the arm length slightly (turn rod inward).
• To decrease closing force: Lengthen the arm (turn rod outward).
⚠️ Make adjustments gradually—about one turn at a time—and test the door after each change.
Conclusion
A door closer is more than just a convenience—it’s a safety device that protects buildings, people, and doors themselves. Knowing how to adjust a door closer allows you to fix common problems like slamming doors, incomplete latching, or difficulty opening.
By following the step-by-step process outlined in this guide, you can ensure your doors operate smoothly and safely. Remember to make small adjustments, test thoroughly, and perform regular maintenance.
If your door closer is leaking or beyond repair, it’s time to replace it with a high-quality model. A well-chosen and properly adjusted door closer will serve reliably for years, keeping your spaces secure, comfortable, and professional.
DORTEC Hardware exports high-quality stainless steel door hardware worldwide. If you’re a distributor, contractor, or project manager looking for reliable suppliers, reach out to us today and let’s build a partnership.